How to Install Mirror Smart Mirror on Raspberry Pi?
Install Mirror smart mirror on Raspberry Pi, use MagicMirror² system to equip the display screen, integrate real-time information such as weather, schedule, news, etc., combine voice control and personalized interface, and create a smart life assistant with both technology and practicality.

Smart mirrors for smart homes
The detailed process of installing Mirror smart mirror on Raspberry Pi (usually using MagicMirror² software) is as follows:
Preparation
1. Hardware preparation
- Raspberry Pi: It is recommended to use Raspberry Pi 3 or higher to ensure sufficient performance to run MagicMirror².
- microSD card: At least 8GB, used to install the Raspberry Pi operating system.
- Display: Ordinary computer monitor or flat panel display with HDMI interface. You can also use a touch screen display to enhance the interactive experience.
- HDMI cable: Used to connect Raspberry Pi and display.
- Special mirror: One-way perspective mirror or semi-transparent and semi-reflective mirror to ensure that the mirror can reflect light and let the screen content pass through.
- Microphone: USB microphone for voice interaction function.
- Power adapter: Power supply for Raspberry Pi.
- Wooden or plastic frame: Used to fix the mirror and display.
- Other tools: screws, screwdrivers, hot glue gun, etc., for assembling the frame.
2. Software preparation
- Raspbian operating system: Download the latest version of the Raspbian operating system image file from the Raspberry Pi official website.
- MagicMirror² software: Get the MagicMirror² installation script from GitHub or other open source platforms.

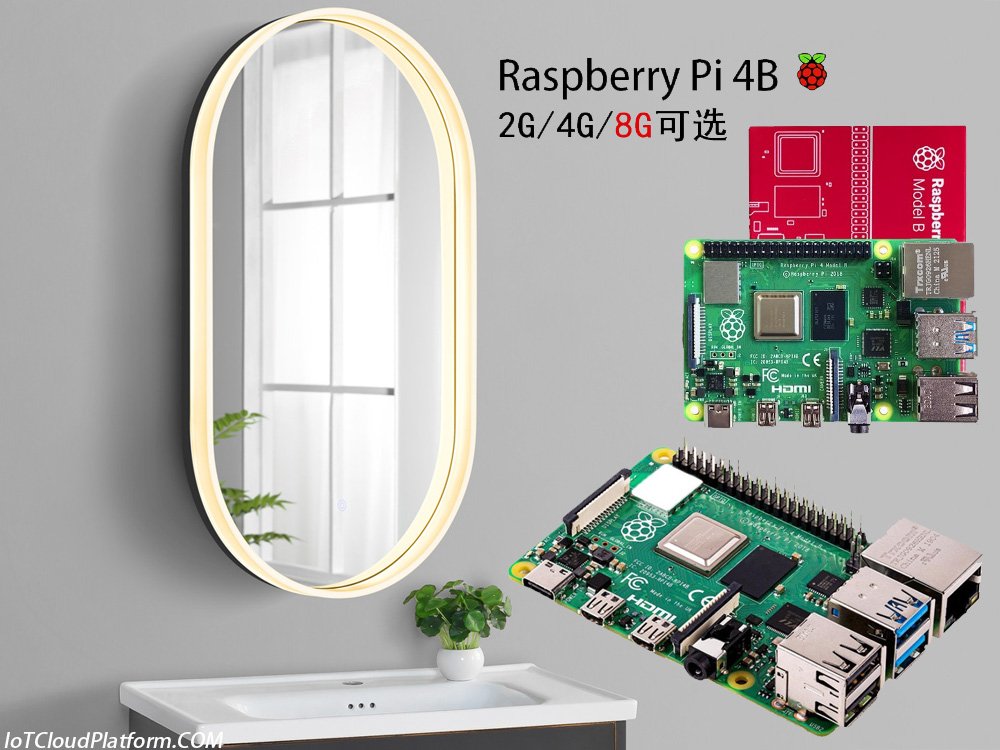
Raspberry Pi 4B Development Board, If you need to purchase a Raspberry Pi development kit, please contact us.
Install the Raspberry Pi operating system
1. Burn the system image
- Use Raspberry Pi Imager or other SD card burning tools to burn the Raspbian operating system image file to the microSD card.
2. Enable SSH service
- In the boot partition of the microSD card, create a new empty file named “ssh” (without extension) to enable the SSH service of the Raspberry Pi.
3. Configure wireless network (optional)
- In the boot partition of the microSD card, create a new file named “wpa_supplicant.conf” and add wireless network configuration information, such as SSID and password.
4. Insert microSD card and start Raspberry Pi
- Insert the microSD card into the Raspberry Pi, connect the display, keyboard, mouse and power supply, and start the Raspberry Pi.
5. Complete initial setup
- Follow the on-screen prompts to complete the initial setup of the Raspberry Pi, including selecting the language, keyboard layout, time zone, etc.
- If you have configured a wireless network before, the Raspberry Pi should be connected to the network at this time.
Install MagicMirror²
1. Update the package list and upgrade the system
sudo apt-get update
sudo apt-get upgrade -y
2. Install Node.js and npm
MagicMirror² runs on Node.js, so Node.js and npm (Node package manager) need to be installed.
curl -sL https://deb.nodesource.com/setup_14.x | sudo -E bash -
sudo apt-get install -y nodejs
3. Clone the MagicMirror² repository
Open the terminal and enter the following command to clone the MagicMirror² repository:
git clone https://github.com/MichMich/MagicMirror.git4. Install MagicMirror² dependencies
Enter the MagicMirror² directory and install the dependencies:
cd MagicMirror
npm install
Configure MagicMirror²
1. Copy the sample configuration file
In the configuration directory of MagicMirror², copy the sample configuration file:
cd config
cp config.js.sample config.js
2. Edit the configuration file
Use a text editor to open the config.js file and configure the module according to your needs. For example, you can add modules such as weather forecast, news summary, calendar, etc.
var config = {
address: "localhost", // server address
port: 8080, // server port
ipWhitelist: ["127.0.0.1", "::ffff:127.0.0.1", "::1"], // list of IP addresses allowed to access
language: "zh-cn", // language settings
modules: [
{
module: "clock",
position: "top_left"
},
{
module: "weather",
position: "top_right",
config: {
apiKey: "YOUR_OPENWEATHER_API_KEY", // need to register in OpenWeatherMap
location: "Beijing", // location
locationID: "1816670" // location ID
}
},
// other module configurations...
]
};
Start MagicMirror²
1. Start the application
In the MagicMirror² directory, enter the following command to start the application:
npm start2. Access MagicMirror²
Open a browser and enter the IP address and port number of the Raspberry Pi (such as http://Raspberry Pi IP:8080) to access the MagicMirror² interface.
Set up the display and mirror
1. Fix the display and mirror
- Use screws and a screwdriver to fix the display and mirror in the frame. Make sure the display is behind the mirror so that users can see what is on the screen through the mirror.
2. Adjust the display settings
- If necessary, you can adjust the display settings of the display, such as rotating the screen, adjusting the resolution, etc.
Test and adjust
1. Test the hardware
- Make sure the microphone is working properly and can capture voice commands.
- Test the voice interaction function to ensure that MagicMirror² can respond to voice commands correctly.
2. Adjust software configuration
- Adjust the configuration of MagicMirror² as needed to optimize the display effect and interactive experience.
- You can add more modules to expand the functions of MagicMirror².
Complete installation
1. Organize wires
- Organize the wires and hide them in the frame to keep the appearance neat.
2. Mount to the wall or other location
- Use screws or hooks to mount the smart mirror to the wall or other suitable location.
After completing the above steps, you can use Raspberry Pi to run MagicMirror² smart mirror. This smart mirror can display information such as time, weather, news, and supports voice interaction, bringing convenience and fun to your life.
Summary
Installing the mirror smart mirror on Raspberry Pi is a fun and practical project. First, you need to prepare hardware such as Raspberry Pi, high-resolution touch screen display, one-way perspective mirror, power adapter and SD card. Then, install Raspbian operating system for Raspberry Pi and clone the code repository of MagicMirror² for configuration.

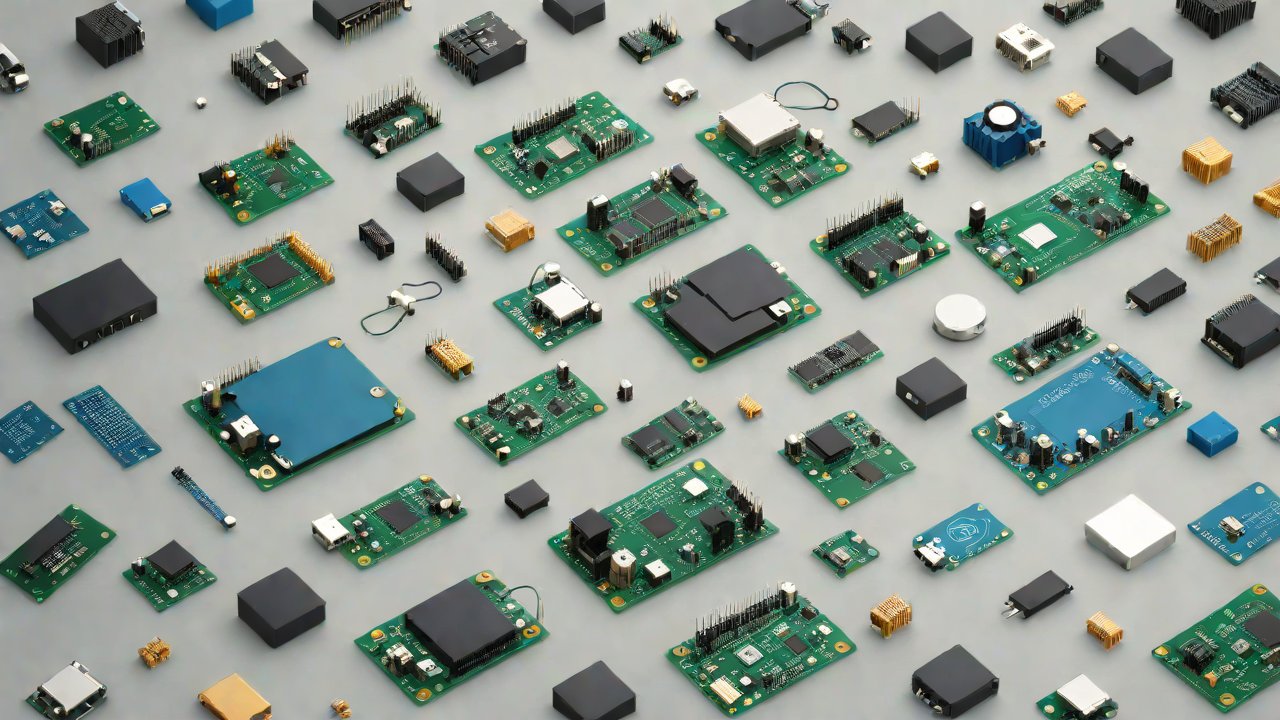
Raspberry Pi development board wholesale manufacturers in China
MagicMirror² is a highly modular platform, and users can install various plug-ins according to their personal preferences, such as weather forecast, news summary, etc. Finally, fix the display and mirror in the frame, make sure the display is behind the mirror, and you can view the information on the screen through the mirror and enjoy the convenience and fun of the smart mirror.
About IoT Cloud Platform
IOT Cloud Platform (blog.iotcloudplatform.com) focuses on technical services and cutting-edge technology knowledge sharing such as IoT projects, Raspberry Pi projects, embedded development, smart home product design, Raspberry Pi smart speaker development, etc.
FAQs
The following are the frequently asked questions and answers about installing the mirror smart mirror on Raspberry Pi (taking MagicMirror as an example):
Check whether pip is installed, use the command pip --version.
If not installed, use the command sudo apt-get install python-pip to install it.
In the project directory, use the command sudo pip install -r requirements.txt to install Python dependencies.
Use the command sudo apt-get install python-imaging-tk to install other necessary dependencies.
Obtain API tokens from weather services such as OpenWeatherMap.
Open the smartmirror.py or config.js file using a text editor such as vim.
Find the weather-related configuration section and replace the API_KEY or similar field with the obtained token.
Check if Python is installed using the command python --version.
If not installed, install it using the command sudo apt-get install python.
Make sure you run commands such as npm start or python main.py in the project directory.
Make sure you have the latest versions of Node.js and npm installed.
Delete the node_modules folder and rerun npm install.
If the problem persists, try updating the Raspberry Pi’s package list and upgrading the system using the command sudo apt-get update && sudo apt-get upgrade.
Edit the Raspberry Pi configuration file /boot/config.txt.
Add display_rotate=1 (or other suitable rotation value) to the end of the file.
Reboot the Raspberry Pi to apply the changes.
Edit the autostart file /etc/xdg/lxsession/LXDE-pi/autostart.
Add @xset s noblank, @xset s off, and @xset -dpms to the end of the file.
Edit the LightDM configuration file /etc/lightdm/lightdm.conf.
In the [SeatDefaults] section, change xserver-command to X -s 0 -dpms.
Edit the network interface file /etc/network/interfaces.
Find the wlan0 section and add wireless-power off below it.
Restart the Raspberry Pi to apply the changes.
Edit the config/config.js file.
Set language to "zh-cn" and locale to "zh".
In the weather module, set location to the name or ID of your city and obtain a valid OpenWeatherMap API key.
Check whether the network connection is normal.
Try changing the network environment or using a VPN connection.
If the problem persists, try to manually download the required files and put them in the specified location.
IOT Cloud Platform
IOT Cloud Platform is an IoT portal established by a Chinese IoT company, focusing on technical solutions in the fields of agricultural IoT, industrial IoT, medical IoT, security IoT, military IoT, meteorological IoT, consumer IoT, automotive IoT, commercial IoT, infrastructure IoT, smart warehousing and logistics, smart home, smart city, smart healthcare, smart lighting, etc.
The IoT Cloud Platform blog is a top IoT technology stack, providing technical knowledge on IoT, robotics, artificial intelligence (generative artificial intelligence AIGC), edge computing, AR/VR, cloud computing, quantum computing, blockchain, smart surveillance cameras, drones, RFID tags, gateways, GPS, 3D printing, 4D printing, autonomous driving, etc.