
How to Build a Civil-Grade Satellite Weather Receiving Station Using Raspberry Pi and SDR Technology?
Satellite weather receiving stations have long been an essential component of modern meteorology, providing critical information for predicting weather patterns, monitoring climate change, and ensuring public safety. Traditionally, these stations are expensive to establish and maintain, requiring specialized hardware and expert personnel. However, with the advent of affordable and powerful single-board computers like Raspberry Pi, and software-defined radio (SDR) technology, it is now possible to build a civil-grade satellite weather receiving station using open-source tools.
The concept of building a satellite weather receiving station using Raspberry Pi and SDR technology may seem ambitious, but recent advancements in these fields have made it a feasible project for enthusiasts and professionals alike. This report aims to provide a comprehensive guide on how to build such a station, covering the necessary hardware, software, and technical considerations.
1. Choosing the Right Hardware
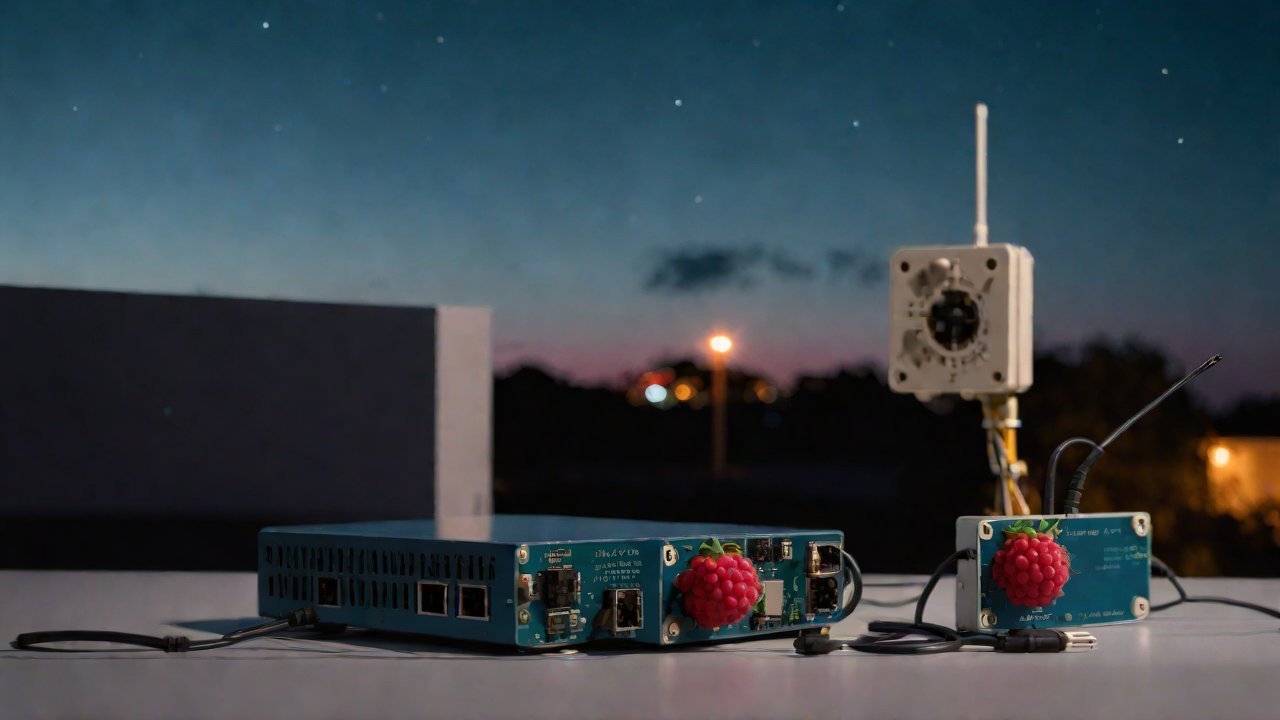
To build a satellite weather receiving station using Raspberry Pi and SDR technology, you will need the following components:
| Component | Description |
|---|---|
| Raspberry Pi | A single-board computer that will serve as the brain of your system. The latest models (Raspberry Pi 4 or later) are recommended due to their increased processing power and memory. |
| SDR Device | A software-defined radio device that will be used to receive satellite signals. Popular options include the HackRF, RTL-SDR, and Airspy. Each has its strengths and weaknesses, so choose one that best suits your needs and budget. |
| Antenna | A high-gain antenna specifically designed for receiving satellite signals. This is a critical component, as it will determine the station’s ability to receive weak signals from distant satellites. |
| Power Supply | A reliable power supply unit (PSU) that can provide stable voltage to all components. Consider using a PSU with built-in surge protection and filtering. |
| Cooling System | A cooling system to prevent overheating of the Raspberry Pi and other components during prolonged operation. This is essential, especially in hot or humid environments. |
2. Selecting the Right Software
To build a satellite weather receiving station, you will need software that can decode and process the received signals. Some popular options include:
| Software | Description |
|---|---|
| SDR# (SDRSharp) | A free, open-source software that allows users to visualize and analyze signals in real-time. It supports multiple SDR devices and has a user-friendly interface. |
| GNU Radio Companion | A graphical tool for building and simulating digital signal processing flows. It is highly customizable and can be used for various applications, including satellite signal reception. |
| WeatherSat | A free, open-source software specifically designed for receiving and decoding weather satellite signals. It supports multiple SDR devices and has a user-friendly interface. |
3. Configuring the Hardware
Once you have assembled all the necessary hardware components, follow these steps to configure them:
- Connect the SDR device to the Raspberry Pi using a USB cable.
- Install the required software on the Raspberry Pi (e.g., SDR# or GNU Radio Companion).
- Configure the SDR device and software to receive satellite signals at the desired frequency.
- Set up the antenna to receive signals from the correct polarization (usually linear or circular).
4. Configuring the Software
To configure the software, follow these steps:
- Launch the selected software on the Raspberry Pi (e.g., SDR# or GNU Radio Companion).
- Configure the software to decode and process the received satellite signals.
- Set up any necessary filtering or amplification to improve signal quality.
5. Decoding and Processing Satellite Signals
Once you have configured both the hardware and software, you can begin decoding and processing satellite signals:
- Use SDR# or GNU Radio Companion to visualize and analyze the received signals in real-time.
- Apply any necessary filters or amplification to improve signal quality.
- Use WeatherSat to decode and process weather satellite signals.
6. Integrating with a Weather Station
To integrate your satellite weather receiving station with an existing weather station, follow these steps:
- Connect the Raspberry Pi to the internet using Ethernet or Wi-Fi.
- Install software that can communicate between the Raspberry Pi and the weather station (e.g., Python scripts or APIs).
- Configure the software to send data from the satellite receiver to the weather station.
7. Testing and Validation
To ensure your satellite weather receiving station is functioning correctly, follow these steps:
- Test the system using a known good signal source.
- Validate the decoded data against expected values (e.g., temperature, humidity).
- Iterate on any necessary adjustments or refinements to improve accuracy.
8. Conclusion and Future Directions
Building a satellite weather receiving station using Raspberry Pi and SDR technology is an exciting project that can provide valuable insights into modern meteorology. This report has outlined the necessary hardware, software, and technical considerations for building such a system. As this technology continues to evolve, we can expect even more advanced capabilities in the near future.
Potential areas of improvement include:
- Developing more efficient algorithms for decoding and processing satellite signals.
- Improving antenna design and materials to increase signal reception sensitivity.
- Integrating with other weather stations or networks to create a comprehensive weather monitoring system.
With these advancements, the possibilities are endless, and we can expect even more exciting developments in the field of satellite weather receiving stations.
IOT Cloud Platform
IOT Cloud Platform is an IoT portal established by a Chinese IoT company, focusing on technical solutions in the fields of agricultural IoT, industrial IoT, medical IoT, security IoT, military IoT, meteorological IoT, consumer IoT, automotive IoT, commercial IoT, infrastructure IoT, smart warehousing and logistics, smart home, smart city, smart healthcare, smart lighting, etc.
The IoT Cloud Platform blog is a top IoT technology stack, providing technical knowledge on IoT, robotics, artificial intelligence (generative artificial intelligence AIGC), edge computing, AR/VR, cloud computing, quantum computing, blockchain, smart surveillance cameras, drones, RFID tags, gateways, GPS, 3D printing, 4D printing, autonomous driving, etc.