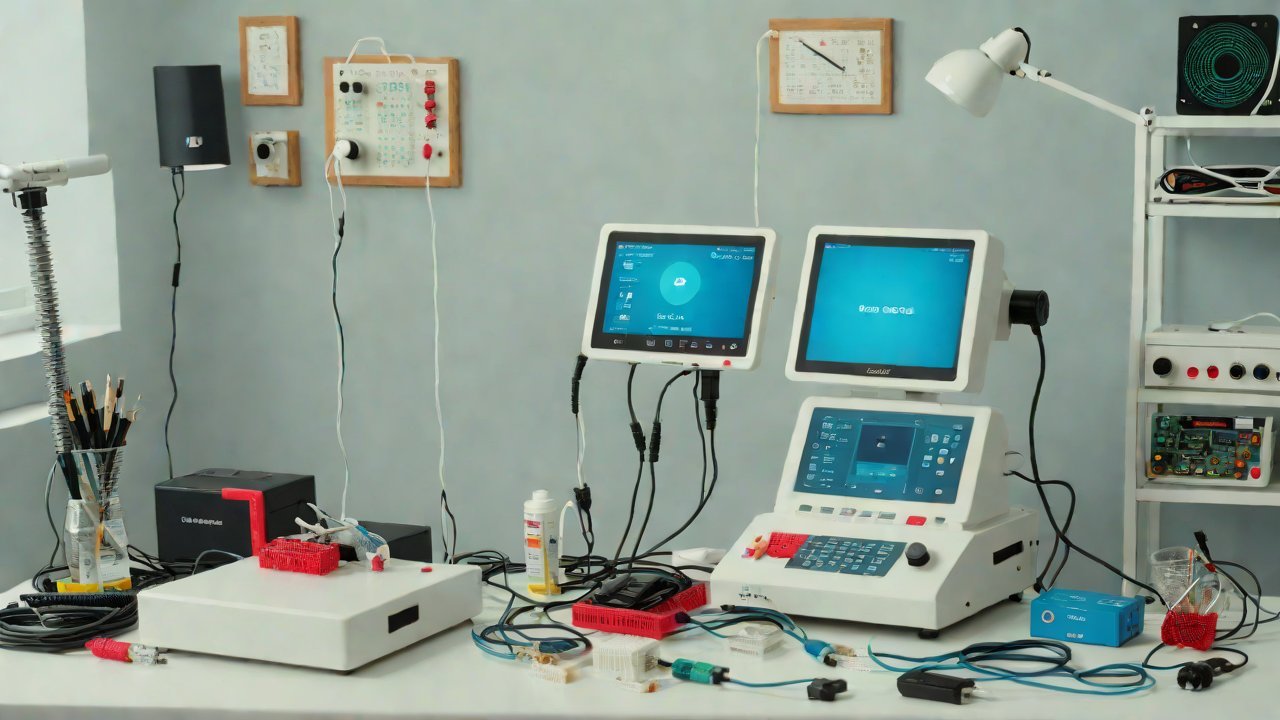
How to quickly build a low-cost community health check-up machine using a Raspberry Pi development board?
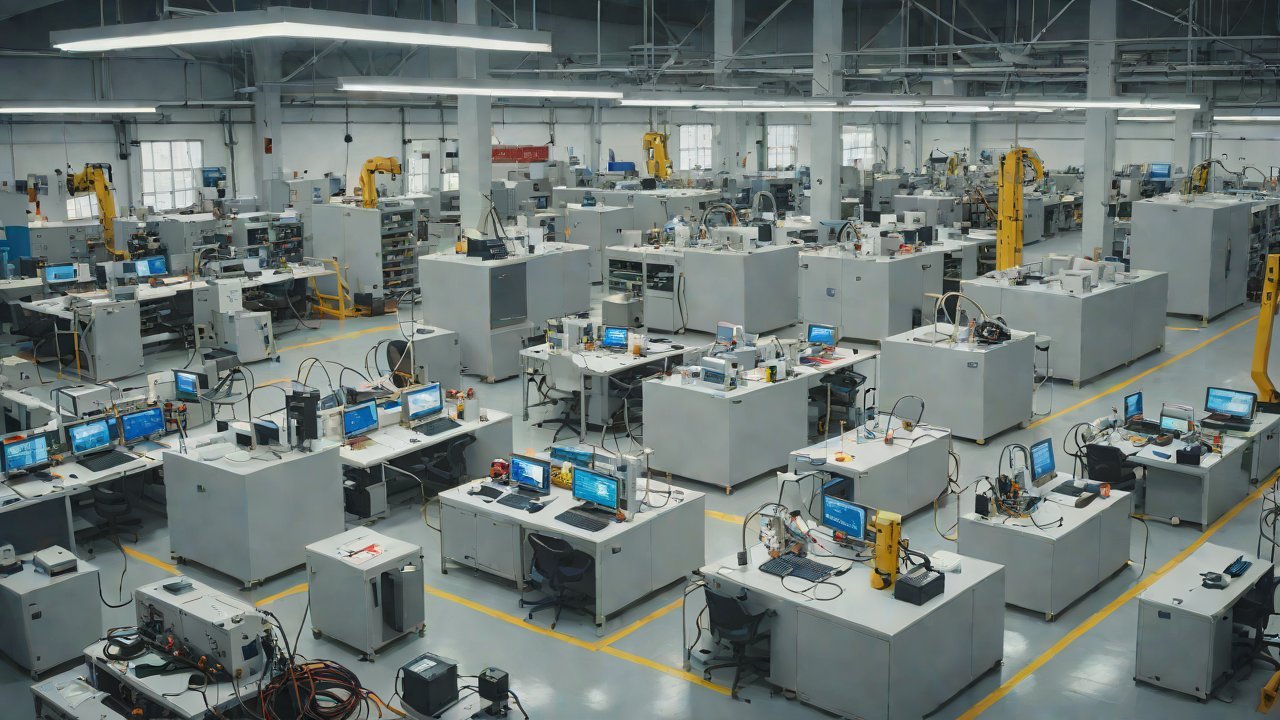
The healthcare industry is on the cusp of a revolution, driven by advancements in technology and the increasing demand for accessible medical care. One crucial aspect of this revolution is the development of affordable and user-friendly health check-up machines that can be deployed in community settings. Among the various options available, the Raspberry Pi development board emerges as an attractive choice due to its low cost, versatility, and open-source nature.
The Raspberry Pi has been widely adopted for various applications, from educational tools to industrial automation systems. Its compact design, high processing power, and extensive library of software packages make it an ideal platform for building a community health check-up machine. Moreover, the Raspberry Pi’s affordability enables the creation of low-cost machines that can be deployed in underserved communities, thereby bridging the healthcare gap.
1. Hardware Requirements
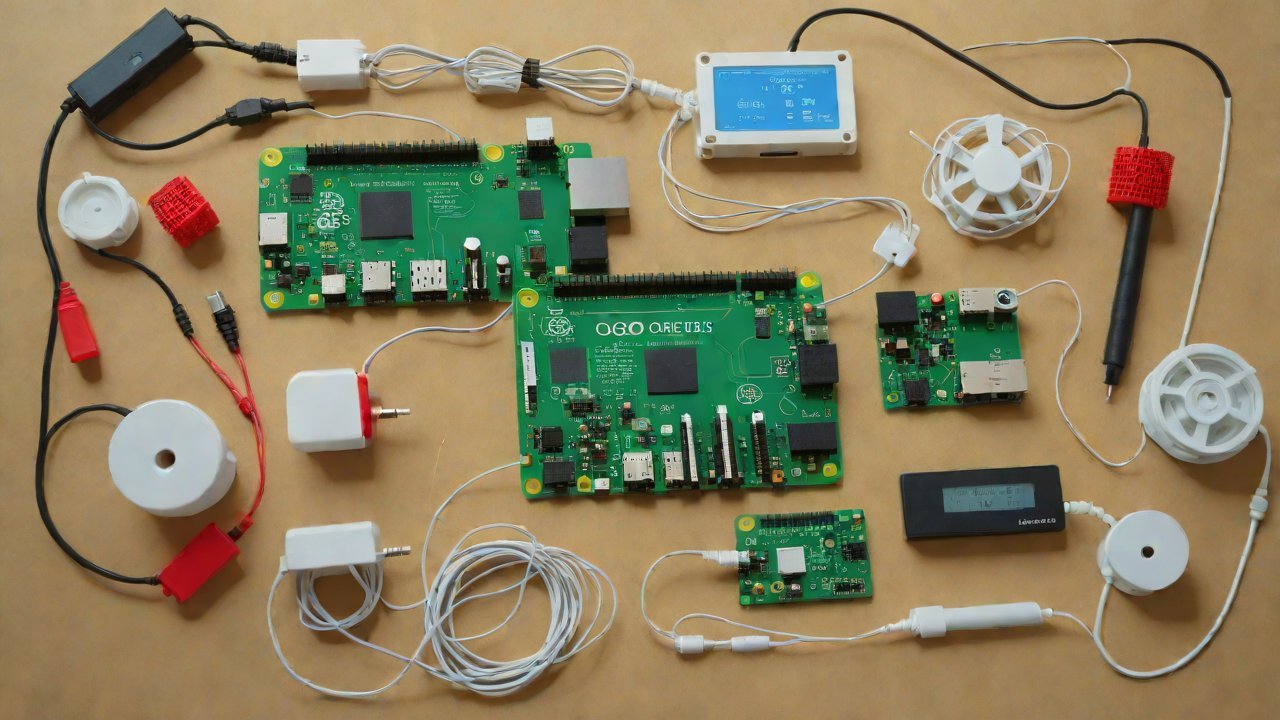
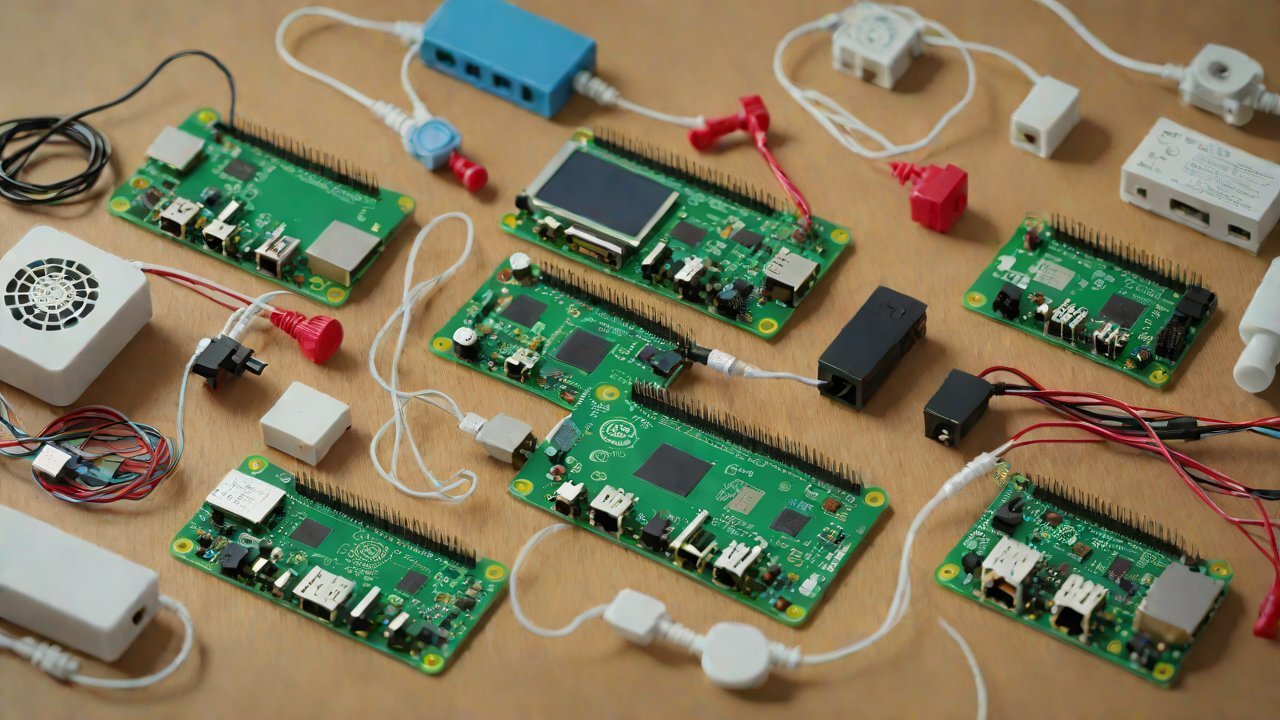
To build a functional community health check-up machine using a Raspberry Pi, we need to assemble the following hardware components:
| Component | Description |
|---|---|
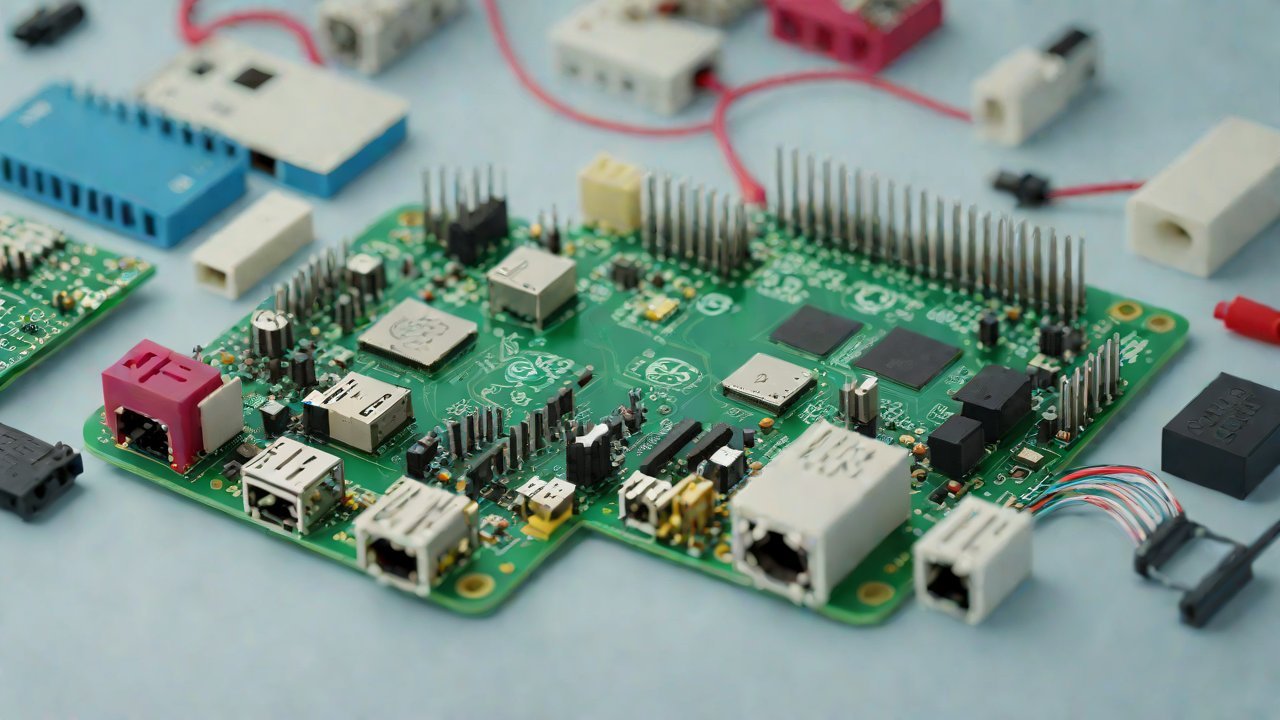
| Raspberry Pi | The development board will serve as the brain of our system |
| Monitor | A small display screen for users to view their results |
| Sensor Suite | A collection of sensors for measuring vital signs (e.g., blood pressure, heart rate, oxygen saturation) and other health indicators |
| Microphone | For voice assistance or audio output |
| Camera Module | Optional: for capturing images or videos for further analysis |
2. Software Requirements
The software requirements for our project include:
- Operating System: We will use a lightweight Linux distribution, such as Raspbian, to minimize system resources and maximize performance.
- Programming Language: Python is an excellent choice due to its simplicity, flexibility, and extensive libraries for data analysis and visualization.
- Sensor Integration: We will utilize the Raspberry Pi’s GPIO pins to connect and read data from the sensor suite.
3. Sensor Selection and Calibration
The selection of sensors plays a critical role in ensuring accurate readings. For our community health check-up machine, we recommend the following sensors:
| Sensor | Type | Description |
|---|---|---|
| Blood Pressure Monitor | Non-invasive | Measures blood pressure using oscillometric technology |
| Heart Rate Monitor | Photoplethysmography (PPG) | Uses light to detect changes in blood flow and calculate heart rate |
| Oxygen Saturation Monitor | Pulse Oximetry | Measures the percentage of oxygenated hemoglobin in the blood |
4. Data Analysis and Visualization
Once we have collected data from the sensors, we need to analyze it and present the results in an easily understandable format. We will utilize popular Python libraries such as NumPy, Pandas, and Matplotlib for data manipulation and visualization.
| Library | Functionality |
|---|---|
| NumPy | Numerical computing and array operations |
| Pandas | Data manipulation and analysis |
| Matplotlib | Data visualization |
5. User Interface Design
The user interface should be intuitive and accessible to individuals with varying levels of technical expertise. We will design a simple, graphical user interface using Python’s Tkinter library.
| Library | Functionality |
|---|---|
| Tkinter | GUI development for creating windows and widgets |
6. Cloud Integration (Optional)
To further enhance the functionality of our community health check-up machine, we can integrate it with cloud-based services for remote data analysis and storage.
| Service | Description |
|---|---|
| AWS IoT Core | Enables secure communication between devices and the cloud |
| Google Cloud Healthcare API | Provides a platform for storing, managing, and analyzing healthcare data |
7. Cost Estimation
The total cost of building our community health check-up machine will depend on the specific components and materials used. However, based on current market prices, we estimate the following costs:
| Component | Estimated Cost |
|---|---|
| Raspberry Pi | $35-$55 |
| Monitor | $50-$100 |
| Sensor Suite | $200-$500 |
| Microphone | $10-$20 |
| Camera Module (optional) | $25-$50 |
8. Conclusion
Building a low-cost community health check-up machine using a Raspberry Pi development board is an achievable goal with the right hardware and software components. By following this guide, we can create a functional device that provides accurate and reliable health readings to underserved communities. The potential benefits of such a device are immense, from improved healthcare outcomes to reduced costs and increased access to medical care.
As the world continues to grapple with the challenges of healthcare accessibility, innovative solutions like our community health check-up machine will play a critical role in bridging the gap. By embracing open-source technologies and leveraging the power of collaboration, we can create a healthier, more equitable future for all.
IOT Cloud Platform
IOT Cloud Platform is an IoT portal established by a Chinese IoT company, focusing on technical solutions in the fields of agricultural IoT, industrial IoT, medical IoT, security IoT, military IoT, meteorological IoT, consumer IoT, automotive IoT, commercial IoT, infrastructure IoT, smart warehousing and logistics, smart home, smart city, smart healthcare, smart lighting, etc.
The IoT Cloud Platform blog is a top IoT technology stack, providing technical knowledge on IoT, robotics, artificial intelligence (generative artificial intelligence AIGC), edge computing, AR/VR, cloud computing, quantum computing, blockchain, smart surveillance cameras, drones, RFID tags, gateways, GPS, 3D printing, 4D printing, autonomous driving, etc.
Note: This article was professionally generated with the assistance of AIGC and has been fact-checked and manually corrected by IoT expert editor IoTCloudPlatForm.